
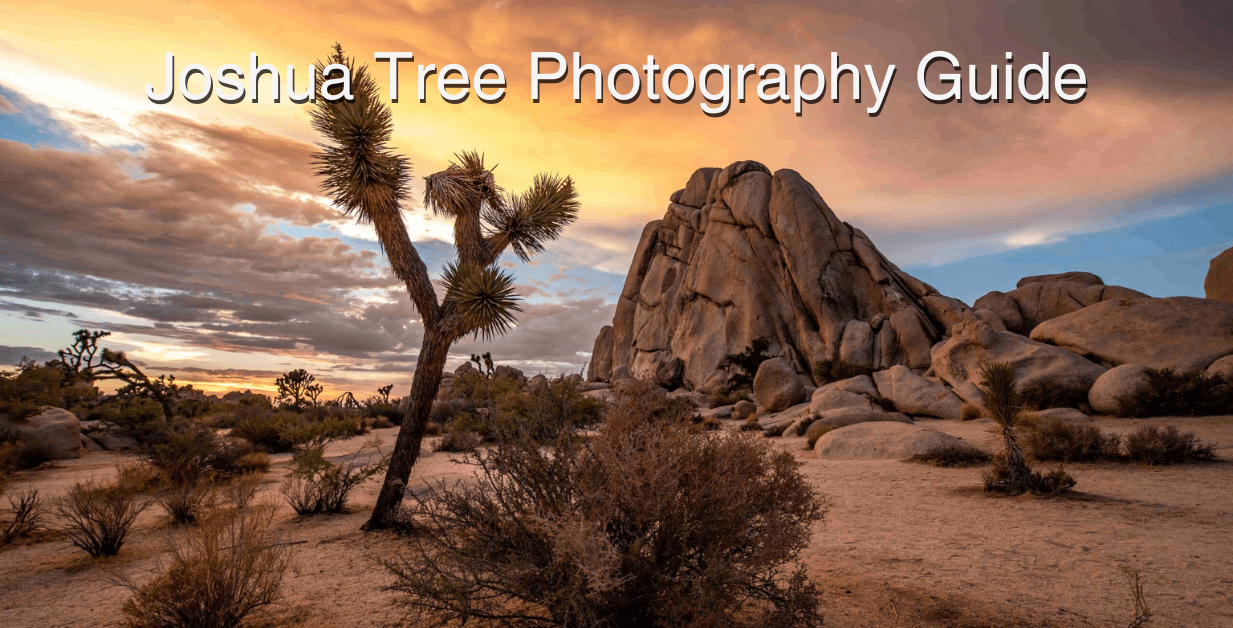
Joshua Tree National Park, known for its surreal desert landscape, has long captivated the imaginations of photographers. The Joshua Tree Photography Guide highlights the park’s unique rock formations, otherworldly Joshua Trees, and spectacular night skies, offering endless opportunities to capture breathtaking images.
With its unique rock formations, otherworldly Joshua Trees, and spectacular night skies, the park offers endless opportunities to capture breathtaking images.
Whether you’re an amateur or professional photographer, or even just looking for that perfect Instagram shot, this guide will help you make the most of your trip to Joshua Tree.
Best Photography Spots in Joshua Tree National Park
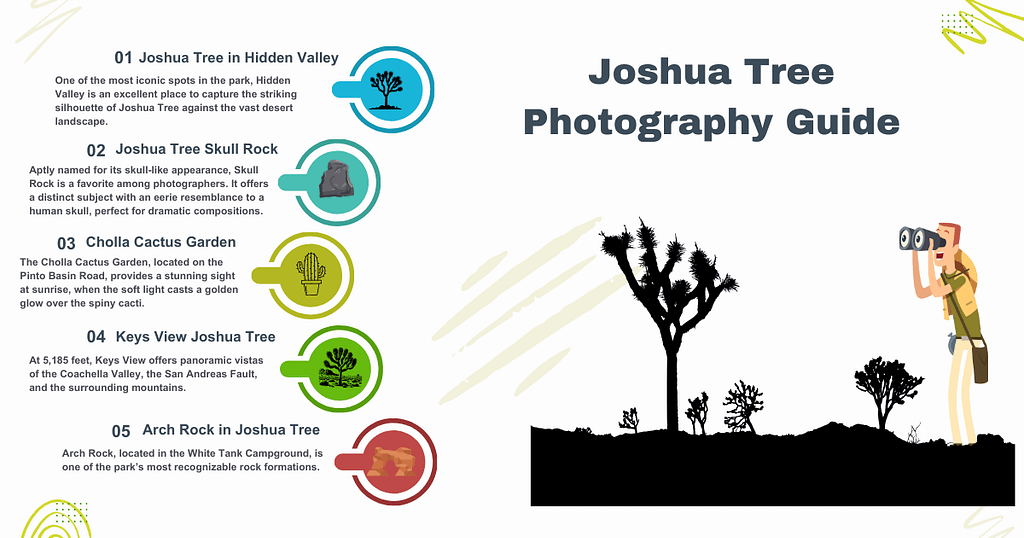
1. Joshua Tree in Hidden Valley
- Description: One of the most iconic spots in the park, Hidden Valley is an excellent place to capture the striking silhouette of Joshua Tree against the vast desert landscape. The area is surrounded by scenic rock formations, creating an ideal backdrop.
- Best time to visit: Sunrise or late afternoon for the soft, golden light.
- Pro Tip: Use the wide expanse of the valley to experiment with different compositions that highlight the balance between the trees and rocks.
2. Joshua Tree Skull Rock
- Description: Aptly named for its skull-like appearance, Skull Rock is a favorite among photographers. It offers a distinct subject with an eerie resemblance to a human skull, perfect for dramatic compositions.
- Best time to visit: Early morning or late afternoon.
- Pro Tip: Get up close with a wide-angle lens to exaggerate the features of the rock, or shoot at a distance to capture it within the landscape.
3. Cholla Cactus Garden
- Description: The Cholla Cactus Garden, located on the Pinto Basin Road, provides a stunning sight at sunrise, when the soft light casts a golden glow over the spiny cacti.
- Best time to visit: Sunrise.
- Pro Tip: Be careful when walking around the garden; the cacti are sharp! Bring a macro lens to capture intricate details of the cactus needles.
4. Keys View Joshua Tree
- Description: At 5,185 feet, Keys View offers panoramic vistas of the Coachella Valley, the San Andreas Fault, and the surrounding mountains. Sunset here is a dream for landscape photographers.
- Best time to visit: Sunset.
- Pro Tip: Bring a telephoto lens to zoom in on distant details, like the mountains or the fault line. Make sure to capture the shifting colors as the sun sets.
5. Arch Rock in Joshua Tree
- Description: Arch Rock, located in the White Tank Campground, is one of the park’s most recognizable rock formations. Its delicate arch structure makes for a striking focal point in photographs.
- Best time to visit: Early morning or late afternoon.
- Pro Tip: Bring a tripod to take long exposure shots during twilight or after dark to capture star trails through the arch.
Summary of Photography Best Spots in Joshua Tree
| Spot Name | Description | Best Time to Visit | Pro Tip |
| Hidden Valley | Joshua Trees, rock formations | Sunrise, late afternoon | Experiment with different compositions between trees and rocks. |
| Skull Rock | Skull-shaped rock formation | Early morning, late afternoon | Use a wide-angle lens to enhance the rock’s skull-like features. |
| Cholla Cactus Garden | Fields of Cholla cacti | Sunrise | Bring a macro lens for close-up details of the cactus needles. |
| Keys View | Panoramic vistas of Coachella Valley | Sunset | Use a telephoto lens to zoom in on distant features like mountains. |
| Arch Rock | Arch-shaped rock formation | Early morning, late afternoon | Use a tripod for long exposure and star trail shots through the arch. |
Optimal Timing for Capturing Stunning Light in Joshua Tree
Lighting can make or break a photograph, and Joshua Tree’s desert setting provides exceptional opportunities for golden hour and night photography. Here’s a breakdown of the best times to shoot:
1. Golden Hour (Just after Sunrise and Before Sunset)
- What to shoot: Joshua Trees, rock formations, and desert landscapes are beautifully lit during the golden hour. The soft, warm light gives everything a magical glow and adds depth to your photos.
- Why it works: The low angle of the sun creates long shadows and a warm color temperature, perfect for creating depth and dimension in landscape shots.
2. Sunset and Twilight
- What to shoot: Joshua Tree is known for its stunning sunsets, especially from Keys View and along the main roads. After sunset, twilight offers soft, diffused light, ideal for moody, silhouette-style photos.
- Why it works: The combination of vibrant colors and fading light at sunset creates a dynamic range of tones that can make your photos pop.
3. Night Photography (Post Sunset)
- What to shoot: Joshua Tree is a designated dark-sky park, making it one of the best places in Southern California for night sky photography. Capture the Milky Way, star trails, or simply the clear desert sky.
- Why it works: With minimal light pollution, the night sky becomes a vast canvas for astrophotography, offering unmatched clarity.
Photography Tips for Joshua Tree
1. Gear Recommendations
- Camera: Bring a DSLR or mirrorless camera for versatility and high-quality shots. A wide-angle lens is ideal for capturing expansive desert landscapes.
- Lenses:
- Wide-angle lens (14-24mm): For dramatic desert scenes and rock formations.
- Telephoto lens (70-200mm): Great for isolating distant features, like mountains or rock details.
- Macro lens (60-100mm): Perfect for close-ups of cacti or textures in the rocks.
- Tripod: Essential for shooting during low-light situations like golden hour and for astrophotography.
- Filters: Polarizing filters can help enhance the blue sky and reduce glare from the sun. Neutral density (ND) filters are helpful for long exposures.
- Remote Shutter Release: To prevent camera shake during long exposures, especially useful for night shots.
2. Desert Landscape Techniques
- Foreground Interest: Include an interesting subject (like a Joshua Tree or a rock) in the foreground to give your image depth.
- Rule of Thirds: Position your main subject off-center for a more engaging composition.
- Framing: Use natural elements like rock formations or trees to frame your shot and guide the viewer’s eye to the focal point.
- Leading Lines: Look for roads, trails, or natural lines in the landscape that draw the viewer’s gaze into the scene.
3. Astrophotography Tips
- Best Time: Shoot on a moonless night for the darkest skies. The Milky Way is best visible from late spring through early fall.
- Camera Settings:
- Aperture: Use the widest aperture your lens allows (e.g., f/2.8 or lower).
- Shutter Speed: Use a shutter speed of 15-25 seconds to capture stars without blurring.
- ISO: Increase the ISO to 1600-3200 to gather more light in the dark environment.
- Focus: Use manual focus and set it to infinity. You may need to test and adjust focus for sharp star shots.
Instagram-Friendly Locations in Joshua Tree
Joshua Tree offers a range of highly photogenic spots that are perfect for social media posts. Here are some of the most Instagram-worthy locations:
1. Arch Rock
- Why it’s Instagrammable: The delicate arch provides a natural frame for both landscape and portrait photos. Its unique shape and placement make it stand out in any feed.
- Best time to shoot: Sunset and night for capturing stars through the arch.
2. Skull Rock
- Why it’s Instagrammable: Its skull-like appearance instantly grabs attention, making it a popular choice for dramatic photos.
- Best time to shoot: Early morning for soft, natural light.
3. Cholla Cactus Garden
- Why it’s Instagrammable: The rows of golden cacti at sunrise create a mesmerizing landscape.
- Best time to shoot: Sunrise, when the sunlight illuminates the spiky textures of the cacti.
Conclusion | Joshua Tree Photography Guide
Joshua Tree is a photographer’s paradise, offering a mix of dramatic landscapes, stunning sunsets, and clear night skies.
Whether you’re capturing the iconic Joshua Trees or the star-studded desert sky, the park’s natural beauty provides endless opportunities for stunning shots.
With the right gear, timing, and a creative eye, you can create breathtaking images that will last a lifetime.
By following this guide, you’re ready to capture the magic of Joshua Tree with your camera. Happy shooting!
Joshua Tree Photography Guide FAQs
1. What is the best time to visit Joshua Tree for photography?
The best times to visit for photography are during the golden hour (just after sunrise and before sunset) and at night for astrophotography. These times provide the best lighting conditions and dramatic landscapes.
2. What gear should I bring for photography in Joshua Tree?
It is recommended to bring a DSLR or mirrorless camera, a variety of lenses (wide-angle, telephoto, and macro), a sturdy tripod for low-light shooting, and filters (polarizing and ND filters) to enhance your images.
3. What are the must-visit photography spots in Joshua Tree?
Key spots include Hidden Valley, Skull Rock, Cholla Cactus Garden, Keys View, and Arch Rock. Each offers unique landscapes and ideal shooting conditions at specific times of the day.
4. Is Joshua Tree a good location for night photography?
Yes, Joshua Tree is designated as a dark-sky park, making it one of the best locations in Southern California for night sky photography. You can capture stunning images of the Milky Way and star trails.
5. What should I know about safety while photographing in the desert?
Always stay hydrated, wear sun protection, and be cautious around wildlife and sharp cacti. Ensure your equipment is secured and be mindful of your surroundings when shooting.
6. How do I capture the Milky Way in Joshua Tree?
To capture the Milky Way, shoot on a moonless night during late spring through early fall. Use a wide aperture, a long exposure (15-25 seconds), and a high ISO setting (1600-3200) for the best results.
7. Are there any photography workshops available in Joshua Tree?
Yes, various photography workshops are offered in Joshua Tree, focusing on landscape and night photography. Check local tour operators for schedules and availability.
8. Can I take a drone for photography in Joshua Tree?
Drone use is restricted in Joshua Tree National Park. Always check park regulations regarding drones and obtain necessary permits if allowed.